Part Location Diagram of WPY312959 Whirlpool Tumbler and Motor Belt
See part 36 in the diagram
Replacing your Maytag Dryer Tumbler and Motor Belt
( Grid squares measure 1x1 inch )

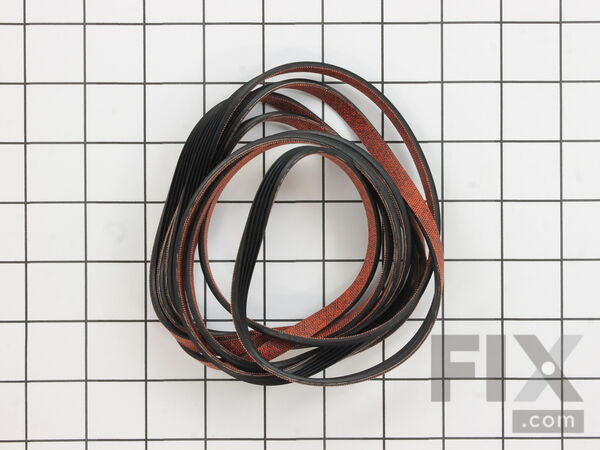
Tumbler and Motor Belt WPY312959

★★★★★
★★★★★
9 Reviews

Rated by 63 customers 

?

Easy 

1- 2 hours 

Ratings submitted by customers like you who bought this part.

?
$32.39
In Stock
Fix Number:
FIX11757542
Manufacturer #:
WPY312959
Manufactured by:
Whirlpool

Product Description

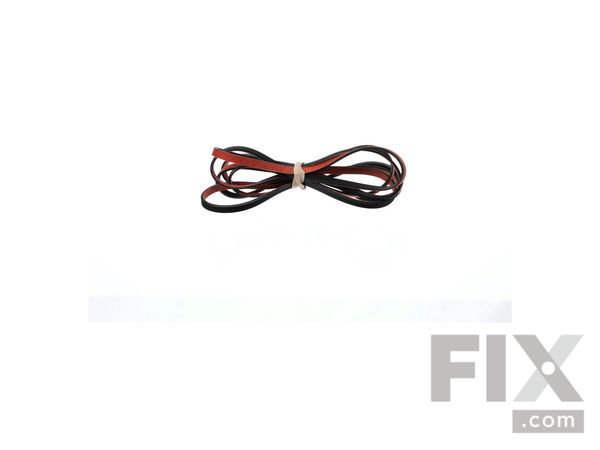
This is a single OEM dryer drum belt. It measures 100 inches in length, 3/8 of an inch wide and has five ribs and four grooves. Keep in mind that this rubber drum belt will stretch over time, so if you are comparing your current belt to these specified measurements, they may not be exact. For this repair, you will need to disconnect the power, and remove the front panel and drum. You will need a 5/16 nut driver and a stubby Phillips screwdriver. While you are doing this repair, be careful not to let the belt fall into the groove in the drum, causing it to be too loose.

Videos For installing this part.

Replacing your Tumbler and Motor Belt

Replacing your Tumbler and Motor Belt

Questions and Answers

We're sorry, but our Q&A experts are temporarily unavailable.
Please check back later if you still haven't found the answer you need.

View More View Less
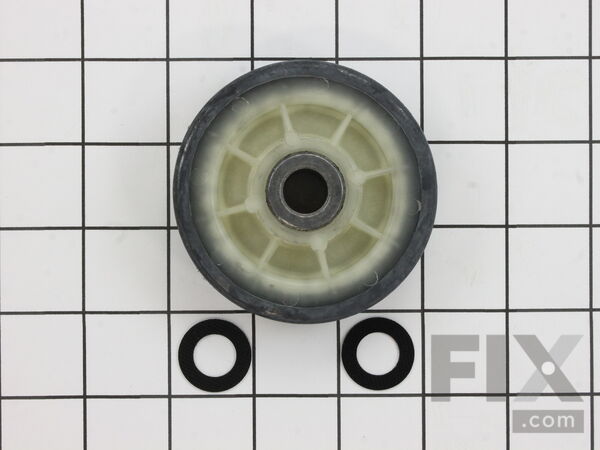
Drum Support Roller Kit
$13.49
In Stock
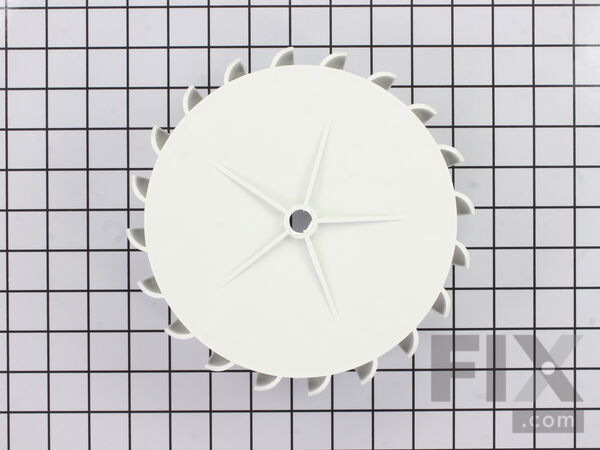
Blower Wheel with Clamp
$22.86
In Stock
Idler Pulley Wheel
$19.25
In Stock
Affresh Washing Machine Cleaner - 3 pack
$12.58
In Stock
Produce Preserver Filter
$21.50
In Stock
Affresh Dishwasher Cleaner Tablets - 6
$19.09
In Stock
Cooktop Cleaning Cream
$15.57
In Stock
Cooktop Cleaner
$17.74
In Stock
Affresh Cleaner
$19.09
In Stock

Installation Instructions Provided by Fix customers like you.

Average Repair Rating: 3.0 / 5.0, 63 reviews.
  • 1
  • 2
  • 3
Sort by:
Sorry, we couldn't find any existing installation instruction that matched.
Customer:
James from Gainesville, GA
Parts Used:
WPY312959, WP6-3037050, 306508, 12001541
Difficulty Level:
Very Easy
Total Repair Time:
1- 2 hours
Tools:
Nutdriver, Pliers, Screw drivers
"Sqealing" noise when drum rotating
Disconnected power supply, removed front panel, removed tub support bracket, removed electrical lines from light and door switch( to have better access to install front guide kit), removed belt, removed drum, removed old rollers, installed new rollers and rest of installation was in reverse order of taking machine apart. In order to insta ll the front guide kit(which I've never done before), I had to watch the installation instructions via you-tube. This was a tremendous aide as the instructions were simple and very adequate.
27 of 28 people found this instruction helpful.
Was this instruction helpful to you?
Thank you for voting!
Customer:
Brian from Novi, MI
Parts Used:
WP6-3129480, WP6-3037050, WPY312959, WPY312527, 306508, 12001541, WP9703438, WP354987
Difficulty Level:
Easy
Total Repair Time:
30 - 60 mins
Tools:
Nutdriver, Screw drivers, Socket set
Squeaking noises while running dryer
Followed the Video Directions from website. All went as planed. The dryer is running like new now.
13 of 14 people found this instruction helpful.
Was this instruction helpful to you?
Thank you for voting!
Customer:
CHINNIE from LAWTON, OK
Parts Used:
WPY312959
Difficulty Level:
A Bit Difficult
Total Repair Time:
More than 2 hours
Tools:
Socket set
The belt was broken
Using repair video , I unplugged dryer, removed front panel (after learning how to use a socket wrench) then suffered through. 2 days (off and on ) of replacing the belt, then I lost the clips from top panel, found them and finally got them back on. When the dryer was finally ressembled, it worked properly! I am 63 years old, a grandmot her and have been ill for years, therefore doing this repair was a victory for me. The product was definitely the correct one. I will order again soon as I have a leaky washing machine. Years ago, I would never have tried to repair an appliance on my own. Thank you
11 of 12 people found this instruction helpful.
Was this instruction helpful to you?
Thank you for voting!
Customer:
Leslie from TULSA, OK
Parts Used:
WPY312959
Difficulty Level:
Easy
Total Repair Time:
30 - 60 mins
Tools:
Screw drivers, Socket set
Broken drive belt
Step 1: Disconnected from electrical source
Step 2: Removed front panel
Step 3: Disconnected wires from front panel
Step 4: Installed per instructions sent with belt
Step 5: Verify that the belt is flat side down and lines up with track marks from the previous belt
Step 6: Rotate drum clockwise ( approx. 5x) to en sure proper seating of belt in pulley and motor pulley
Step 7: Reassemble dryer components
Step 8: Plug in
9 of 13 people found this instruction helpful.
Was this instruction helpful to you?
Thank you for voting!
Customer:
Gary from Bailey, CO
Parts Used:
WPY312959
Difficulty Level:
Easy
Total Repair Time:
15 - 30 mins
Tools:
Nutdriver, Screw drivers
broken belt
Repair video is excellent and a major factor is choosing this supplier. The only thing I did differently was thread belt around tensioner wheel through rear inspection port. This is not a difficult job and seeing the entire procedure in a detailed video is like having experience.
5 of 8 people found this instruction helpful.
Was this instruction helpful to you?
Thank you for voting!
Customer:
ROBERT from RUMSON, NJ
Parts Used:
W10410999, WPY312959, Y303836
Difficulty Level:
Easy
Total Repair Time:
More than 2 hours
Tools:
Nutdriver, Pliers, Screw drivers, Socket set, Wrench (Adjustable), Wrench set
The motor died on my 38 year old Maytag dryer.
Because of the New Year's Holiday, it took 6 days to get the 2-3 business day ordered parts. I disassembled the dryer and cleaned it as I went. During disassembly, the blower wheel fell apart when the retaining clamp was removed. When the drum was out, I had good access to the motor which did not move when I tried to turn the shaft. I then ordered the parts and waited for 6 days. The new motor electrical connections were different from the original motor but the proper crimp terminals were provided with the motor and the connection instructions were clear. Assembling the belt required an internet search to determine the correct side of the belt to the drum. The instructions said smooth side to the drum, but the belt had a rubbery grooved side and a flat brought side. I confirmed from an internet search that the "smooth" side in the instructions meant the rough side of the belt. If you do this job make sure that you have a crimper for the wire terminals and a ring clip pliers for the two ring clips that hold the blower wheel in place.
5 of 8 people found this instruction helpful.
Was this instruction helpful to you?
Thank you for voting!
Customer:
Franklin from Indianapolis, IN
Parts Used:
WPY312959, 12001541
Difficulty Level:
Very Easy
Total Repair Time:
30 - 60 mins
Tools:
Nutdriver, Screw drivers
Noisy Drum while drying.
Replaced the wheels at the back and also the belt. ( I also removed the lint buildup around the drum felt and on the heating chamber and motor. That alone helped the noise problem. I did this prior to ordering parts, as I had taken it apart to see what the problem might be.)I don't have any additions to what I saw in the repair video. Tha t video showed me all I needed to do. Great video. First time the dryer has been worked on since it was purchased in about 1984. We were a family of 6, so its good stuff.
4 of 6 people found this instruction helpful.
Was this instruction helpful to you?
Thank you for voting!
Customer:
Paul from Springfield, IL
Parts Used:
WP6-3037050, WPY312959, 12001541
Difficulty Level:
Easy
Total Repair Time:
30 - 60 mins
Tools:
Nutdriver, Pliers, Screw drivers
broken dryer belt.
I followed the instructions on each part that was sent to me. I've taken the front and tumbler assembly off before, so that was already easy. The tip that is not offered that makes a huge difference in replacing the belt is this. Make sure that you take the belt out if the bag and let it rest for a few minutes before installing. Also, m ake sure that you have the ribbed side of the belt facing up on the tumbler. It is easier to get it right while the tumbler is out of the unit than when it's inside and you are working in a 1 foot section.
4 of 5 people found this instruction helpful.
Was this instruction helpful to you?
Thank you for voting!
Customer:
Robert from Richmond, TX
Parts Used:
WPY312959
Difficulty Level:
Easy
Total Repair Time:
More than 2 hours
Tools:
Nutdriver, Pliers, Screw drivers, Socket set
Old tumbler belt broke.
As per instructions received with the replacement belt: Removed front panel by unscrewing two screws, removed tumbler front (two screws each side), placed new belt on tumbler where the old belt had been, removed plate to access motor pulley and idler pulley and installed new belt according to diagram provided with instructions. Had troub le getting the two retaining clips at top of from panel back in place. Dryer is functioning very well now.
4 of 5 people found this instruction helpful.
Was this instruction helpful to you?
Thank you for voting!
Customer:
Richard from El Cerrito, CA
Parts Used:
WPY312959, WP307250
Difficulty Level:
Difficult
Total Repair Time:
More than 2 hours
Tools:
Nutdriver, Screw drivers
Dryer took 4 hours to dry a normal load of laundry.
The gas heater would come on for 13 sec. and then go off for a few minutes. The most common cause for this problem was cited as the cycling thermostat. My local parts place did not have this part, and they told me they thought the high limit thermostat was the problem. I bought one and it did not help. I bought a cycling thermostat from t his site because all the fiche diagrams I could find anywhere said that my dryer had one at the back. I took my dryer completely apart (my dryer does not have a removable back) to find that it does not have a cycling thermostat anywhere. I bought the only other possible bad part and replaced the multi- temperature gas thermostat. Dryer works great now, it dries a whole load of laundry in slightly more time than my old washer takes to wash a load. With the dryer apart, I took the opportunity to replace the ancient belt. The whole job was difficult because I didn't need to take the dryer apart. If I could have found a fiche for my exact dryer and known that it did not have a cycling thermo, it would have been an easy job.
3 of 6 people found this instruction helpful.
Was this instruction helpful to you?
Thank you for voting!
  • 1
  • 2
  • 3
Customer Reviews
Average Rating: (9 Reviews)
5.0
★★★★★
★★★★★
Filter By Rating:
  • 5
    9
  • 4
    0
  • 3
    0
  • 2
    0
  • 1
    0
  • 1
Sort by:
Sorry, we couldn't find any existing reviews that matched. Try using some different or simpler keywords.

Model Compatibility

This part works with the following models:
Fix Number: FIX11757542
Manufacturer Part Number: WPY312959
Brand
Model Number
Description
Maytag
DE106
Dryer - Electric
Maytag
DE107
Dryer - Electric
Maytag
DE110
Dryer - Electric
Maytag
DE180
Dryer - Maytag Dryer Model DE180 Parts
Maytag
DE18CA
Dryer - Electric
Maytag
DE18CM
Dryer - Electric
Maytag
DE18CS
Dryer - Electric
Maytag
DE18CT
Dryer - Electric
Maytag
DE19CA
Dryer - Electric
Maytag
DE19CD
Dryer - Electric
Maytag
DE19CS
Dryer - Electric
Maytag
DE19CT
Dryer - Electric
Maytag
DE210
Dryer - Electric
Maytag
DE212
Dryer - Residential
Maytag
DE21CA
Dryer - Electric
Maytag
DE21CM
Dryer - Electric
Maytag
DE21CS
Dryer - Electric
Maytag
DE21CT
Dryer - Electric
Maytag
DE22CA
Dryer - Electric
Maytag
DE22CS
Dryer - Electric
Maytag
DE22CT
Dryer - Electric
Maytag
DE23CD
Dryer - Electric
Maytag
DE24CA
Dryer - Electric
Maytag
DE24CM
Dryer - Electric
Maytag
DE24CS
Dryer - Electric
Maytag
DE24CT
Dryer - Electric
Maytag
DE25CS
Dryer - Electric
Maytag
DE26CA
Dryer - Commercial
Maytag
DE26CD
Dryer - Commercial
Maytag
DE26CS
Dryer - Electric